Set up your church
What you’ll do: Walk through the seven setup steps that tell EBENEZER who your church is and which kinds of content you want it to make.
About 20 minutes · you only do this once
The first time you sign in, EBENEZER walks you through setup before it lets you do anything else. You’ll see a row of seven steps across the top, with a checkmark appearing on each one as you finish it.
Only step 1 has required fields. Steps 2 through 6 can be left for later and changed any time under Settings. If you don’t have your Facebook password or your blog details handy, move on and come back.
That button saves the page — it doesn’t jump over it. On steps 3 through 6, pressing it while the Enable box is unticked will clear anything you had saved for that feature before. If you’re returning to finish setup and you don’t want to touch a step, use Next with the box left as you found it.
Step 1 — Church profile
The only step with required fields. What you enter here shapes the writing in every blog post, devotional and Bible study EBENEZER produces.
- Fill in Pastor Name (just the name, no title) and Pastor Title — Pastor, Dr., Rev., Elder, whatever your church uses.
- Enter your City and State/Province, and set your Timezone. The timezone matters more than it looks: it decides what time your devotional texts go out. Leave it wrong and your Monday morning encouragement arrives at the wrong hour.
- Choose your Theological Tradition. This changes the vocabulary and hashtags in generated content — a Reformed church gets different language than a Pentecostal one.
- Choose your Preferred Bible Version. Used for every scripture quotation in Bible studies and devotionals.
- Optionally add your church website and YouTube channel. These become the “watch the full sermon” link on published clips. Leave them blank and the link is simply left off.
- Optionally upload your logo and set your brand colours. The logo appears in the corner of every short clip.
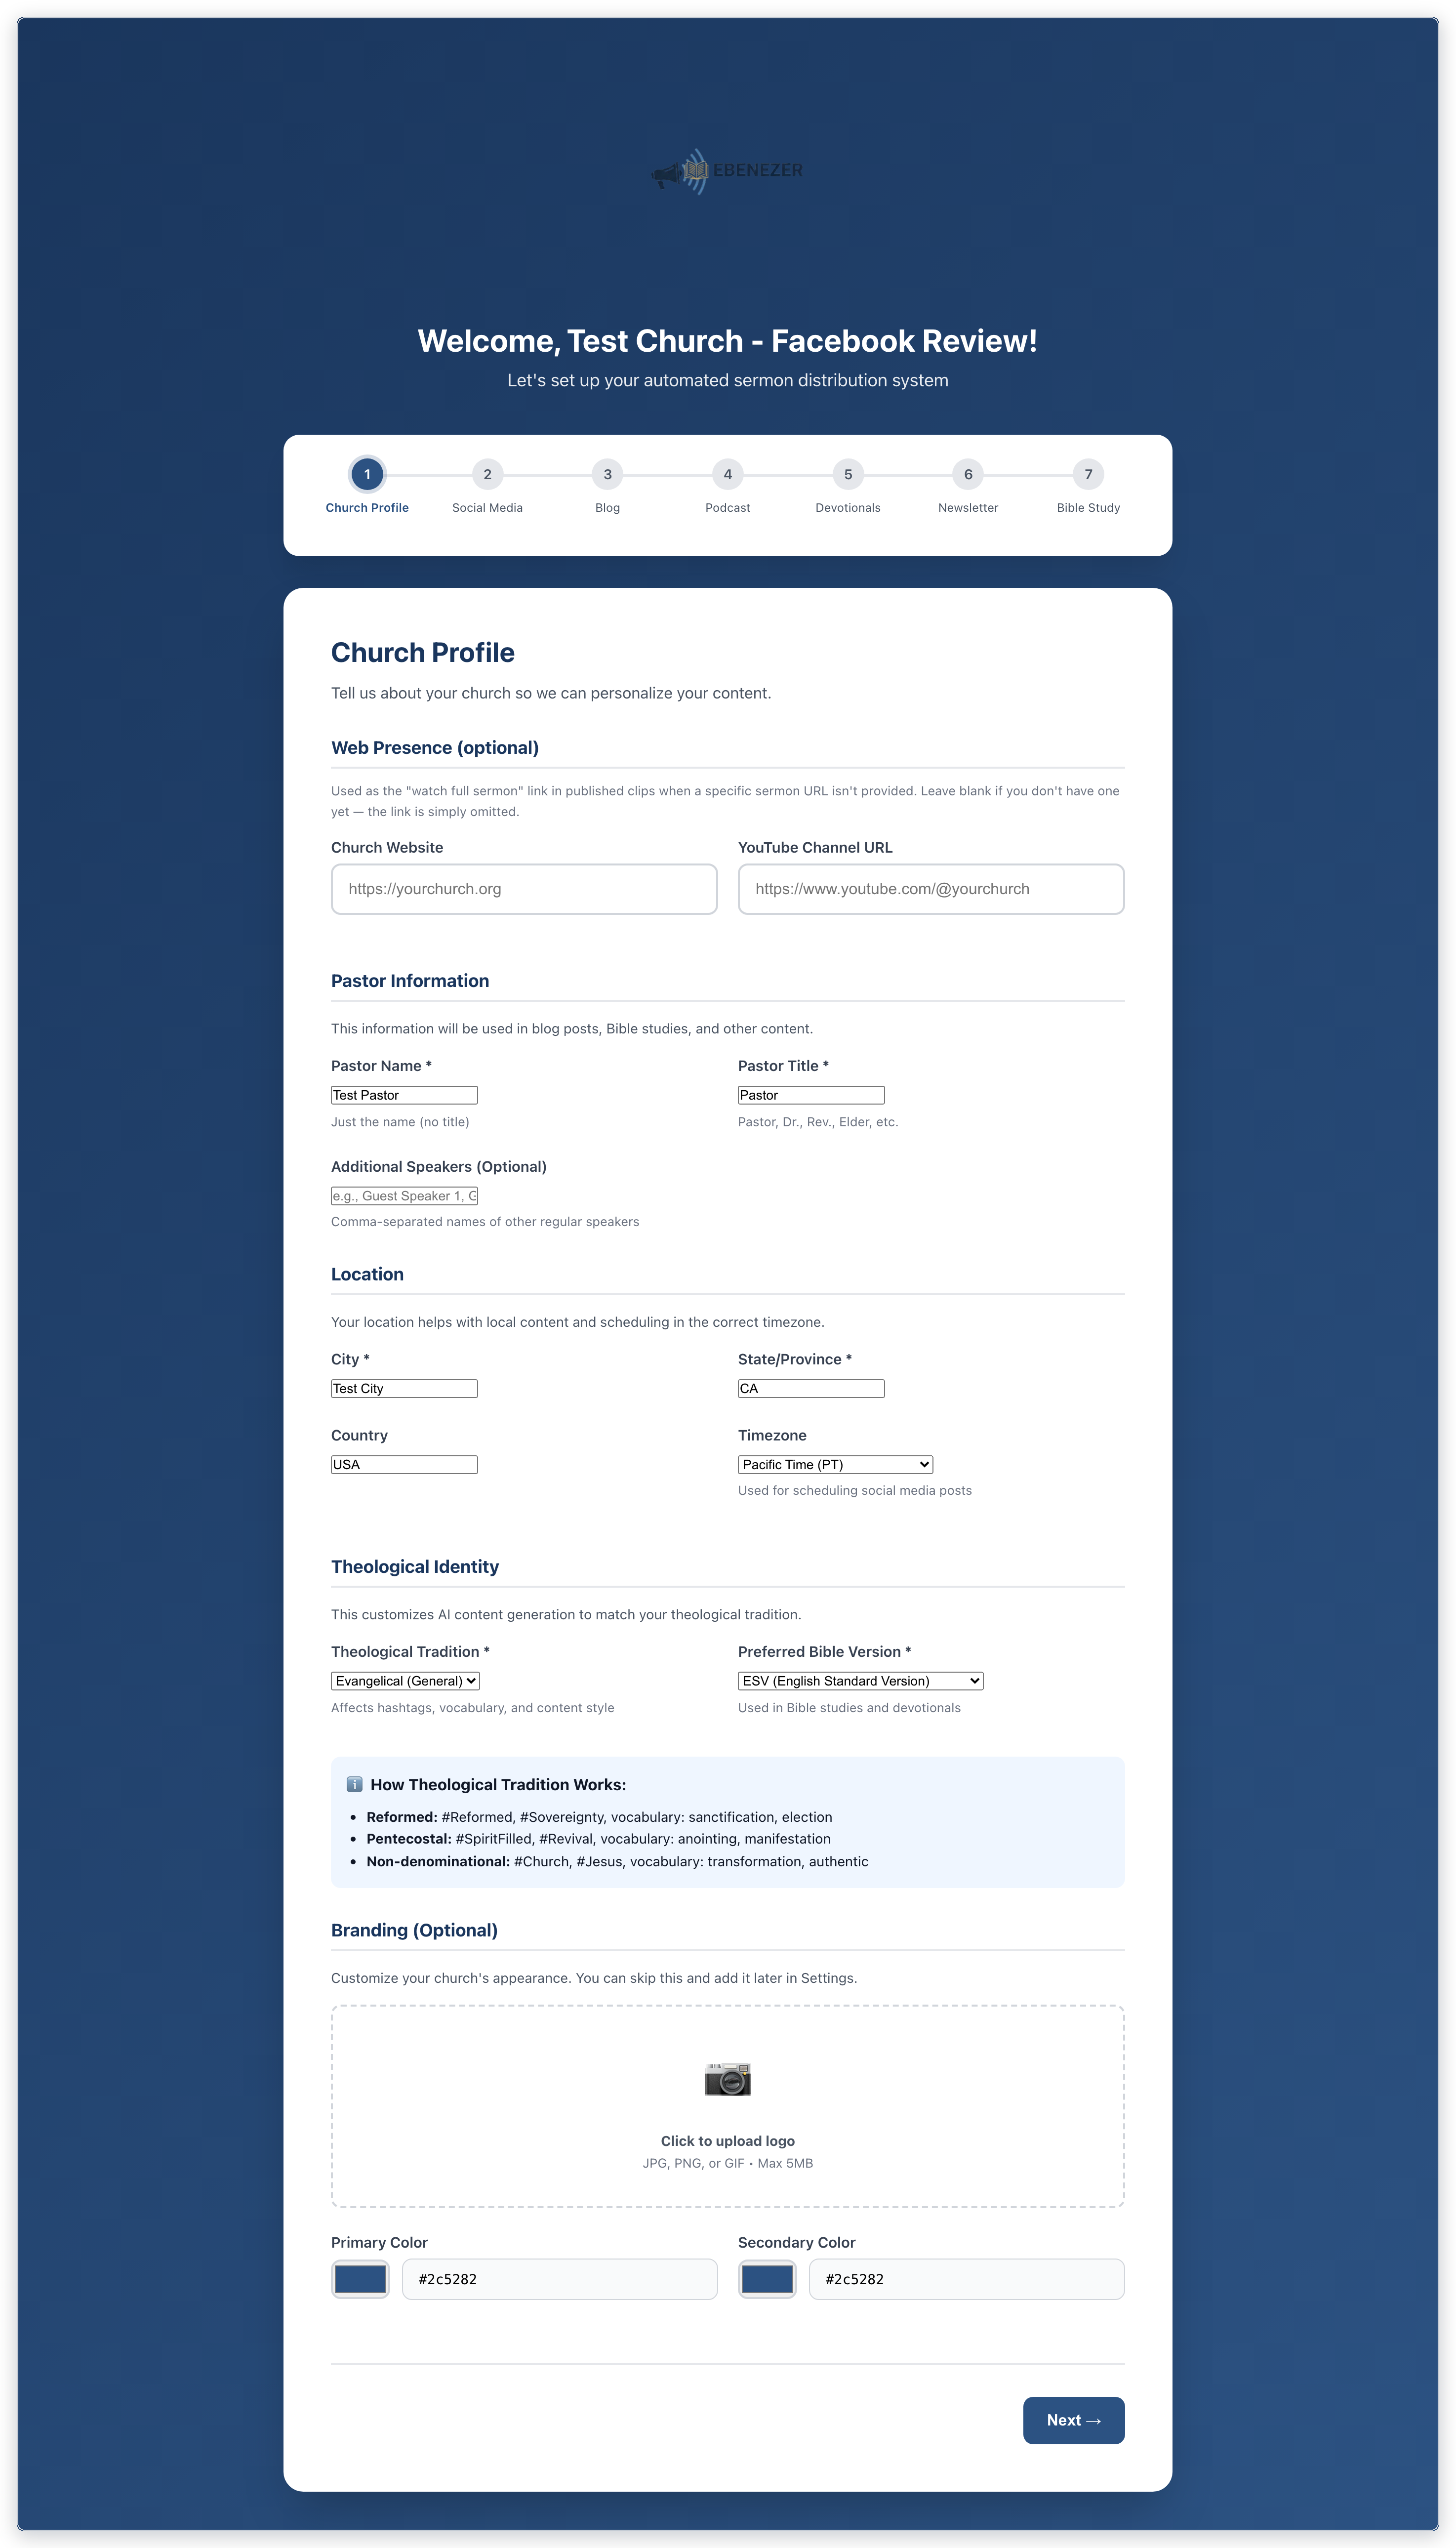
If your primary colour is very dark, EBENEZER quietly swaps it for white on clip titles so the text stays readable. A navy-branded church will never see navy titles, and nothing on screen tells you this happened.
Step 2 — Social media
Connect the accounts you want clips published to. Each one opens that platform’s own sign-in page, then brings you back.
- Press Connect on any platform you use. A checkmark replaces the button once it works.
- Connecting Facebook also connects Instagram — there is one button for both. That’s why the success message mentions both names. Facebook also has an extra permission step that’s easy to miss; the Connect Facebook and Instagram guide covers it.
- Skip any you don’t use. You can add them later under Settings → Social Media.
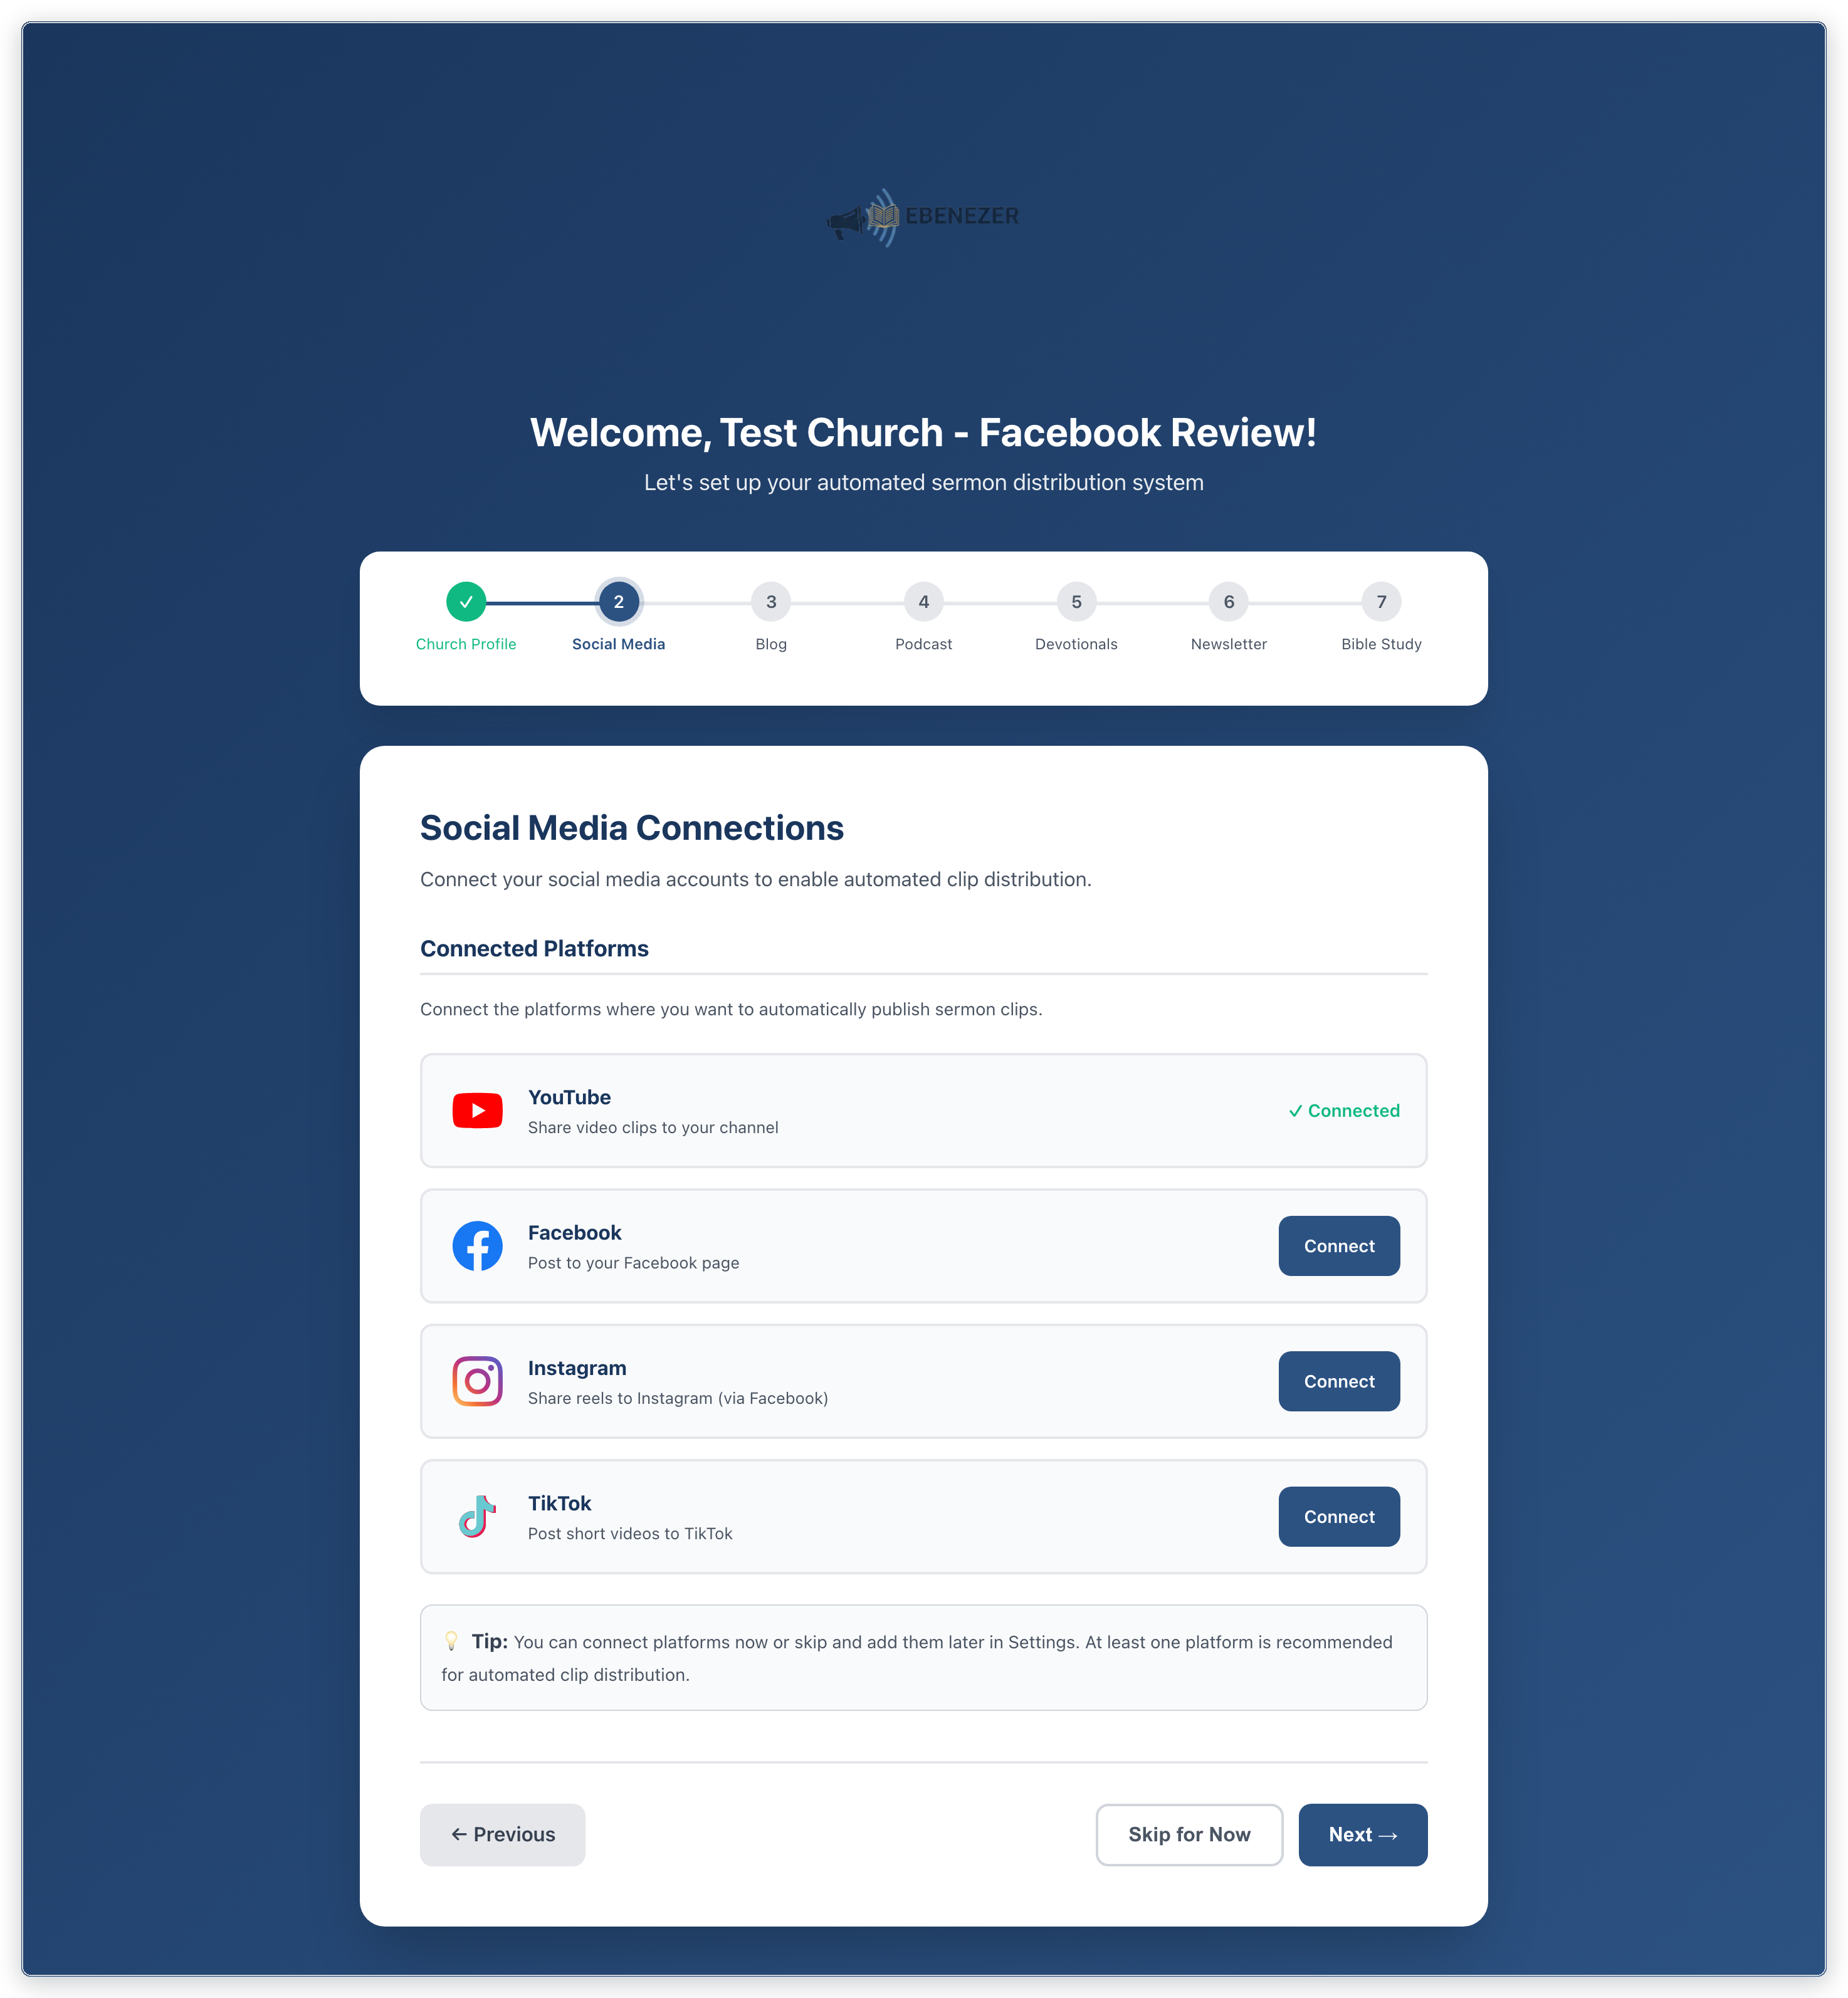
That message sounds alarming but almost always just means you took too long, or the connection started in a different browser tab. Go back and press Connect again.
Step 3 — Blog
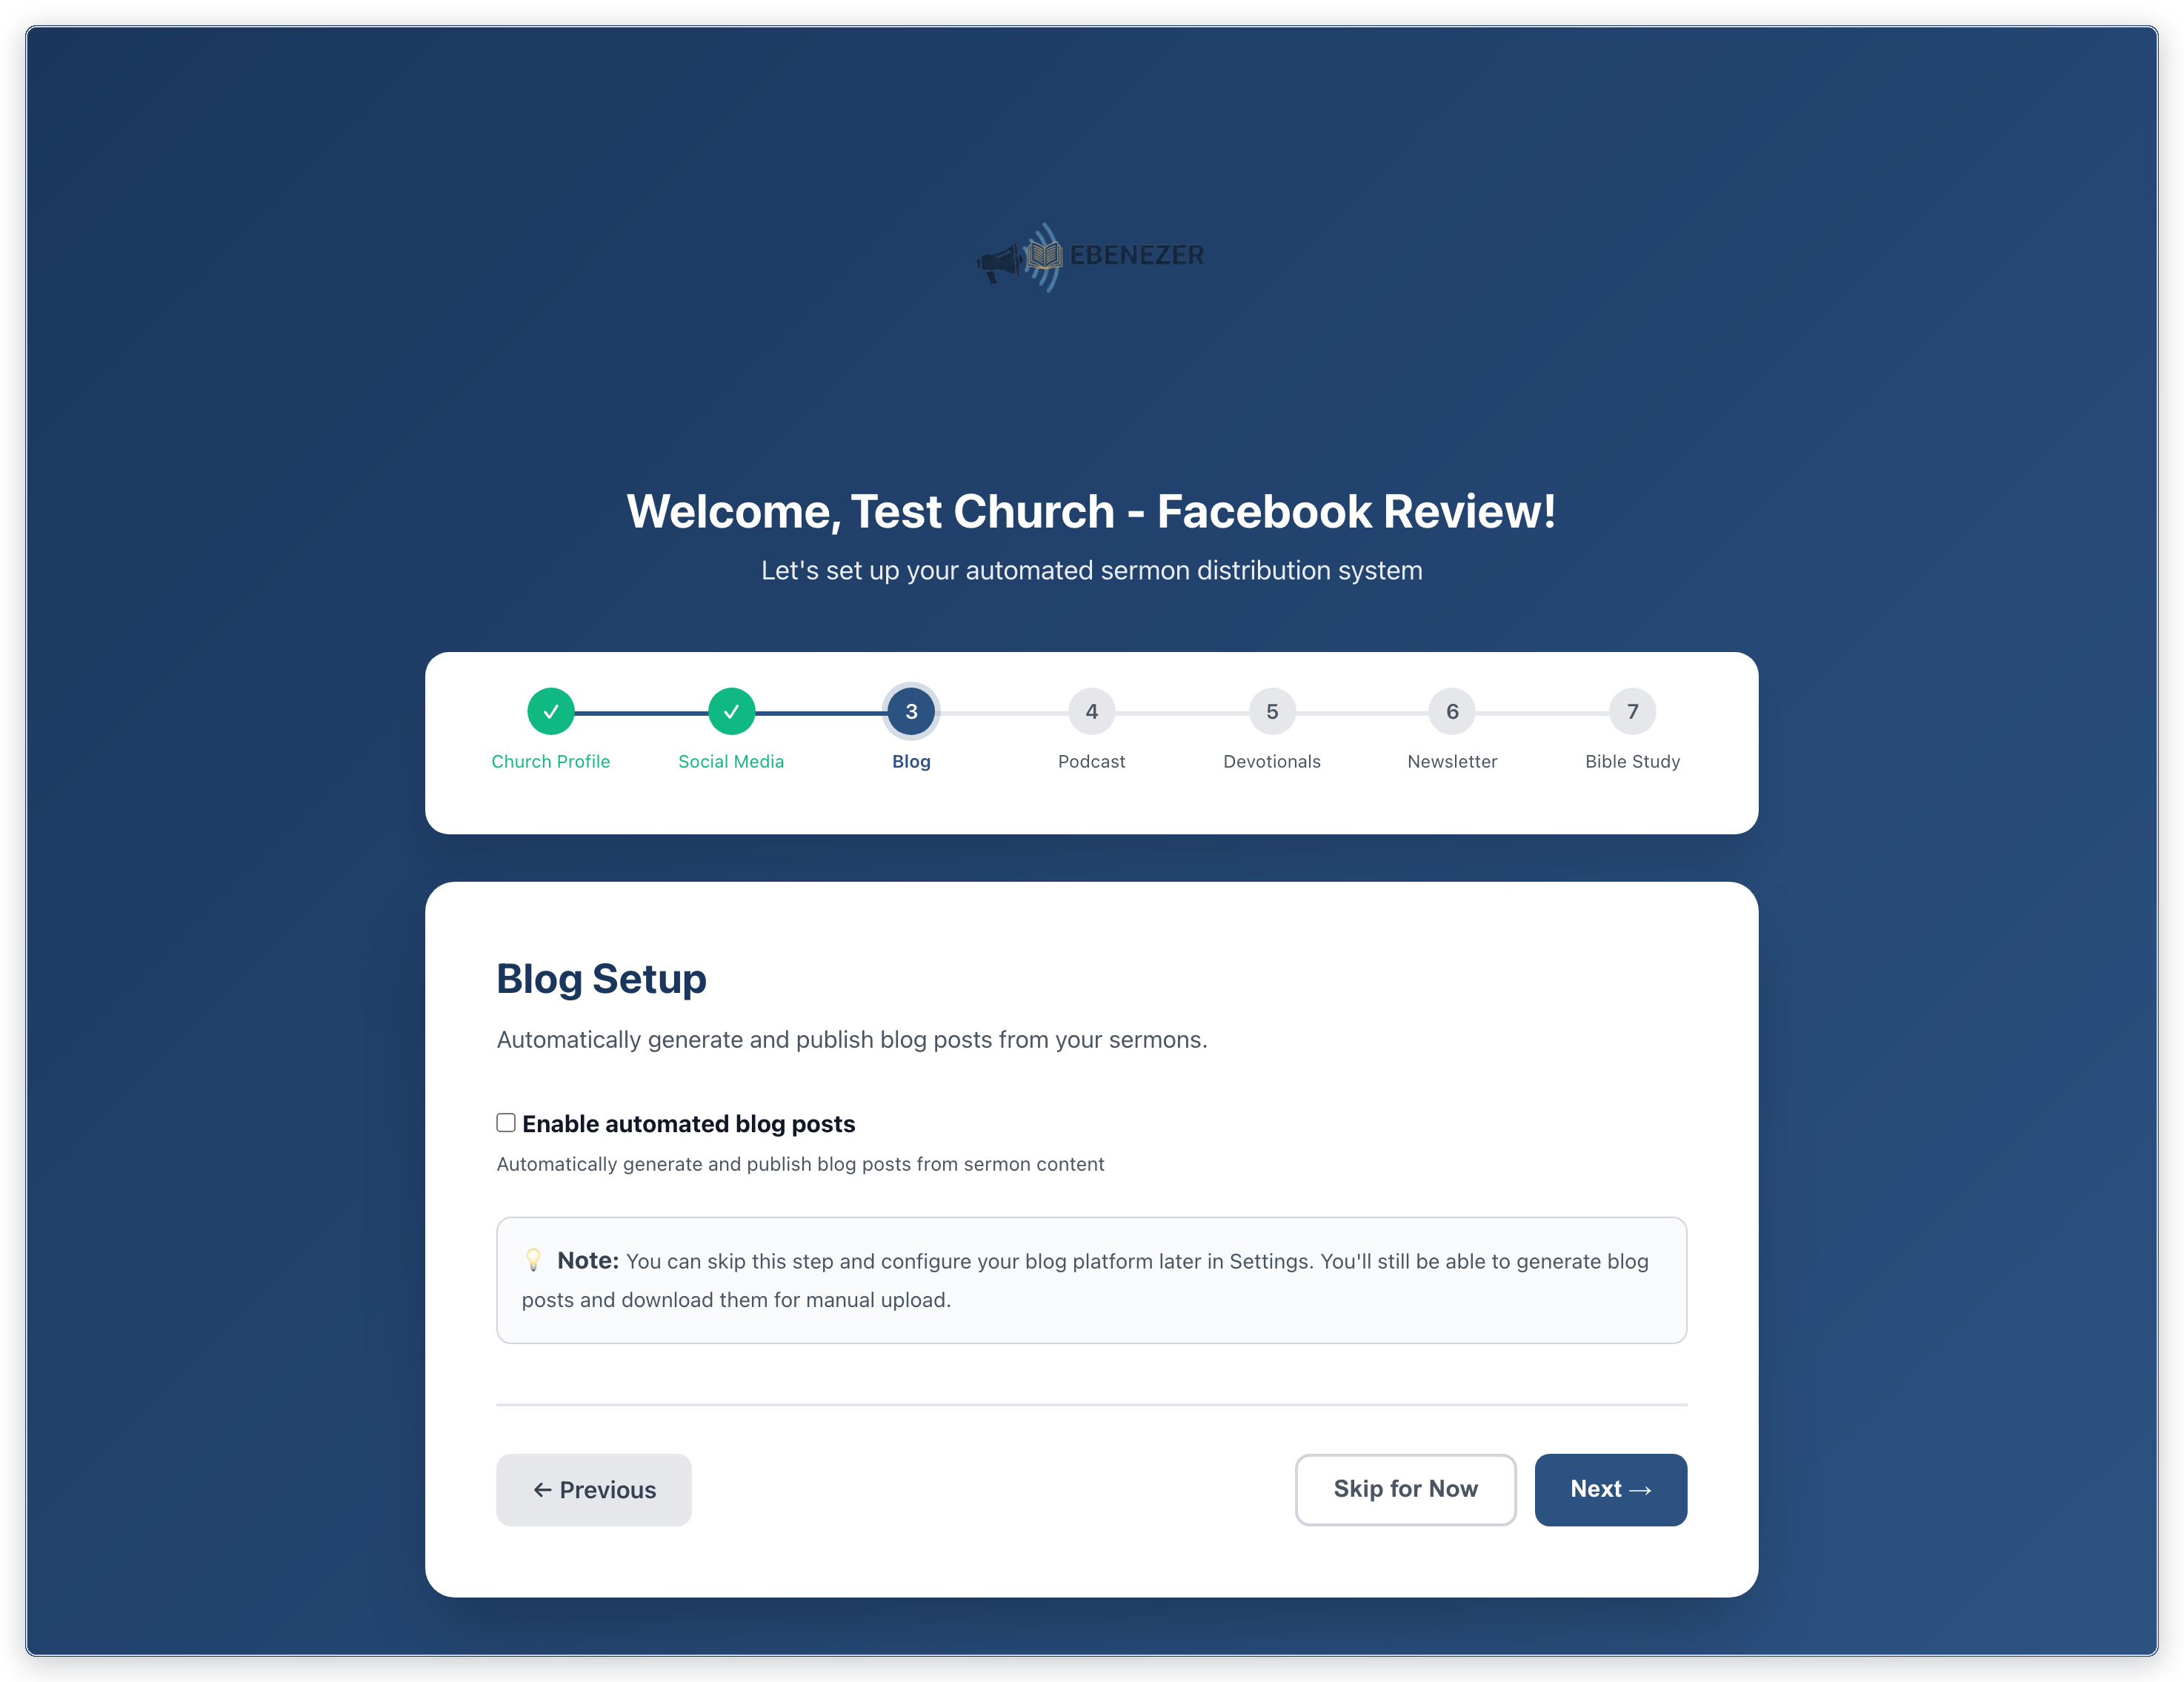
EBENEZER can post a written version of each sermon straight to your church website, if your site runs on Wix or WordPress.
- Tick Enable automated blog posts if you want this.
- Choose Wix or WordPress, then fill in the credentials that appear. Each platform asks for different things and the form tells you where to find each one.
- Don’t have them handy? Leave this step alone. You can still generate blog posts and copy or download them to post yourself.
Step 4 — Podcast
EBENEZER can turn the sermon audio into a podcast episode, and can also generate a two-host discussion episode about the sermon.
- Tick Enable automated podcast episodes.
- Choose your host — Podbean is the one that currently works end to end — and enter its credentials.
- Name your two AI discussion hosts if you’d like. They default to Sarah and Marcus.
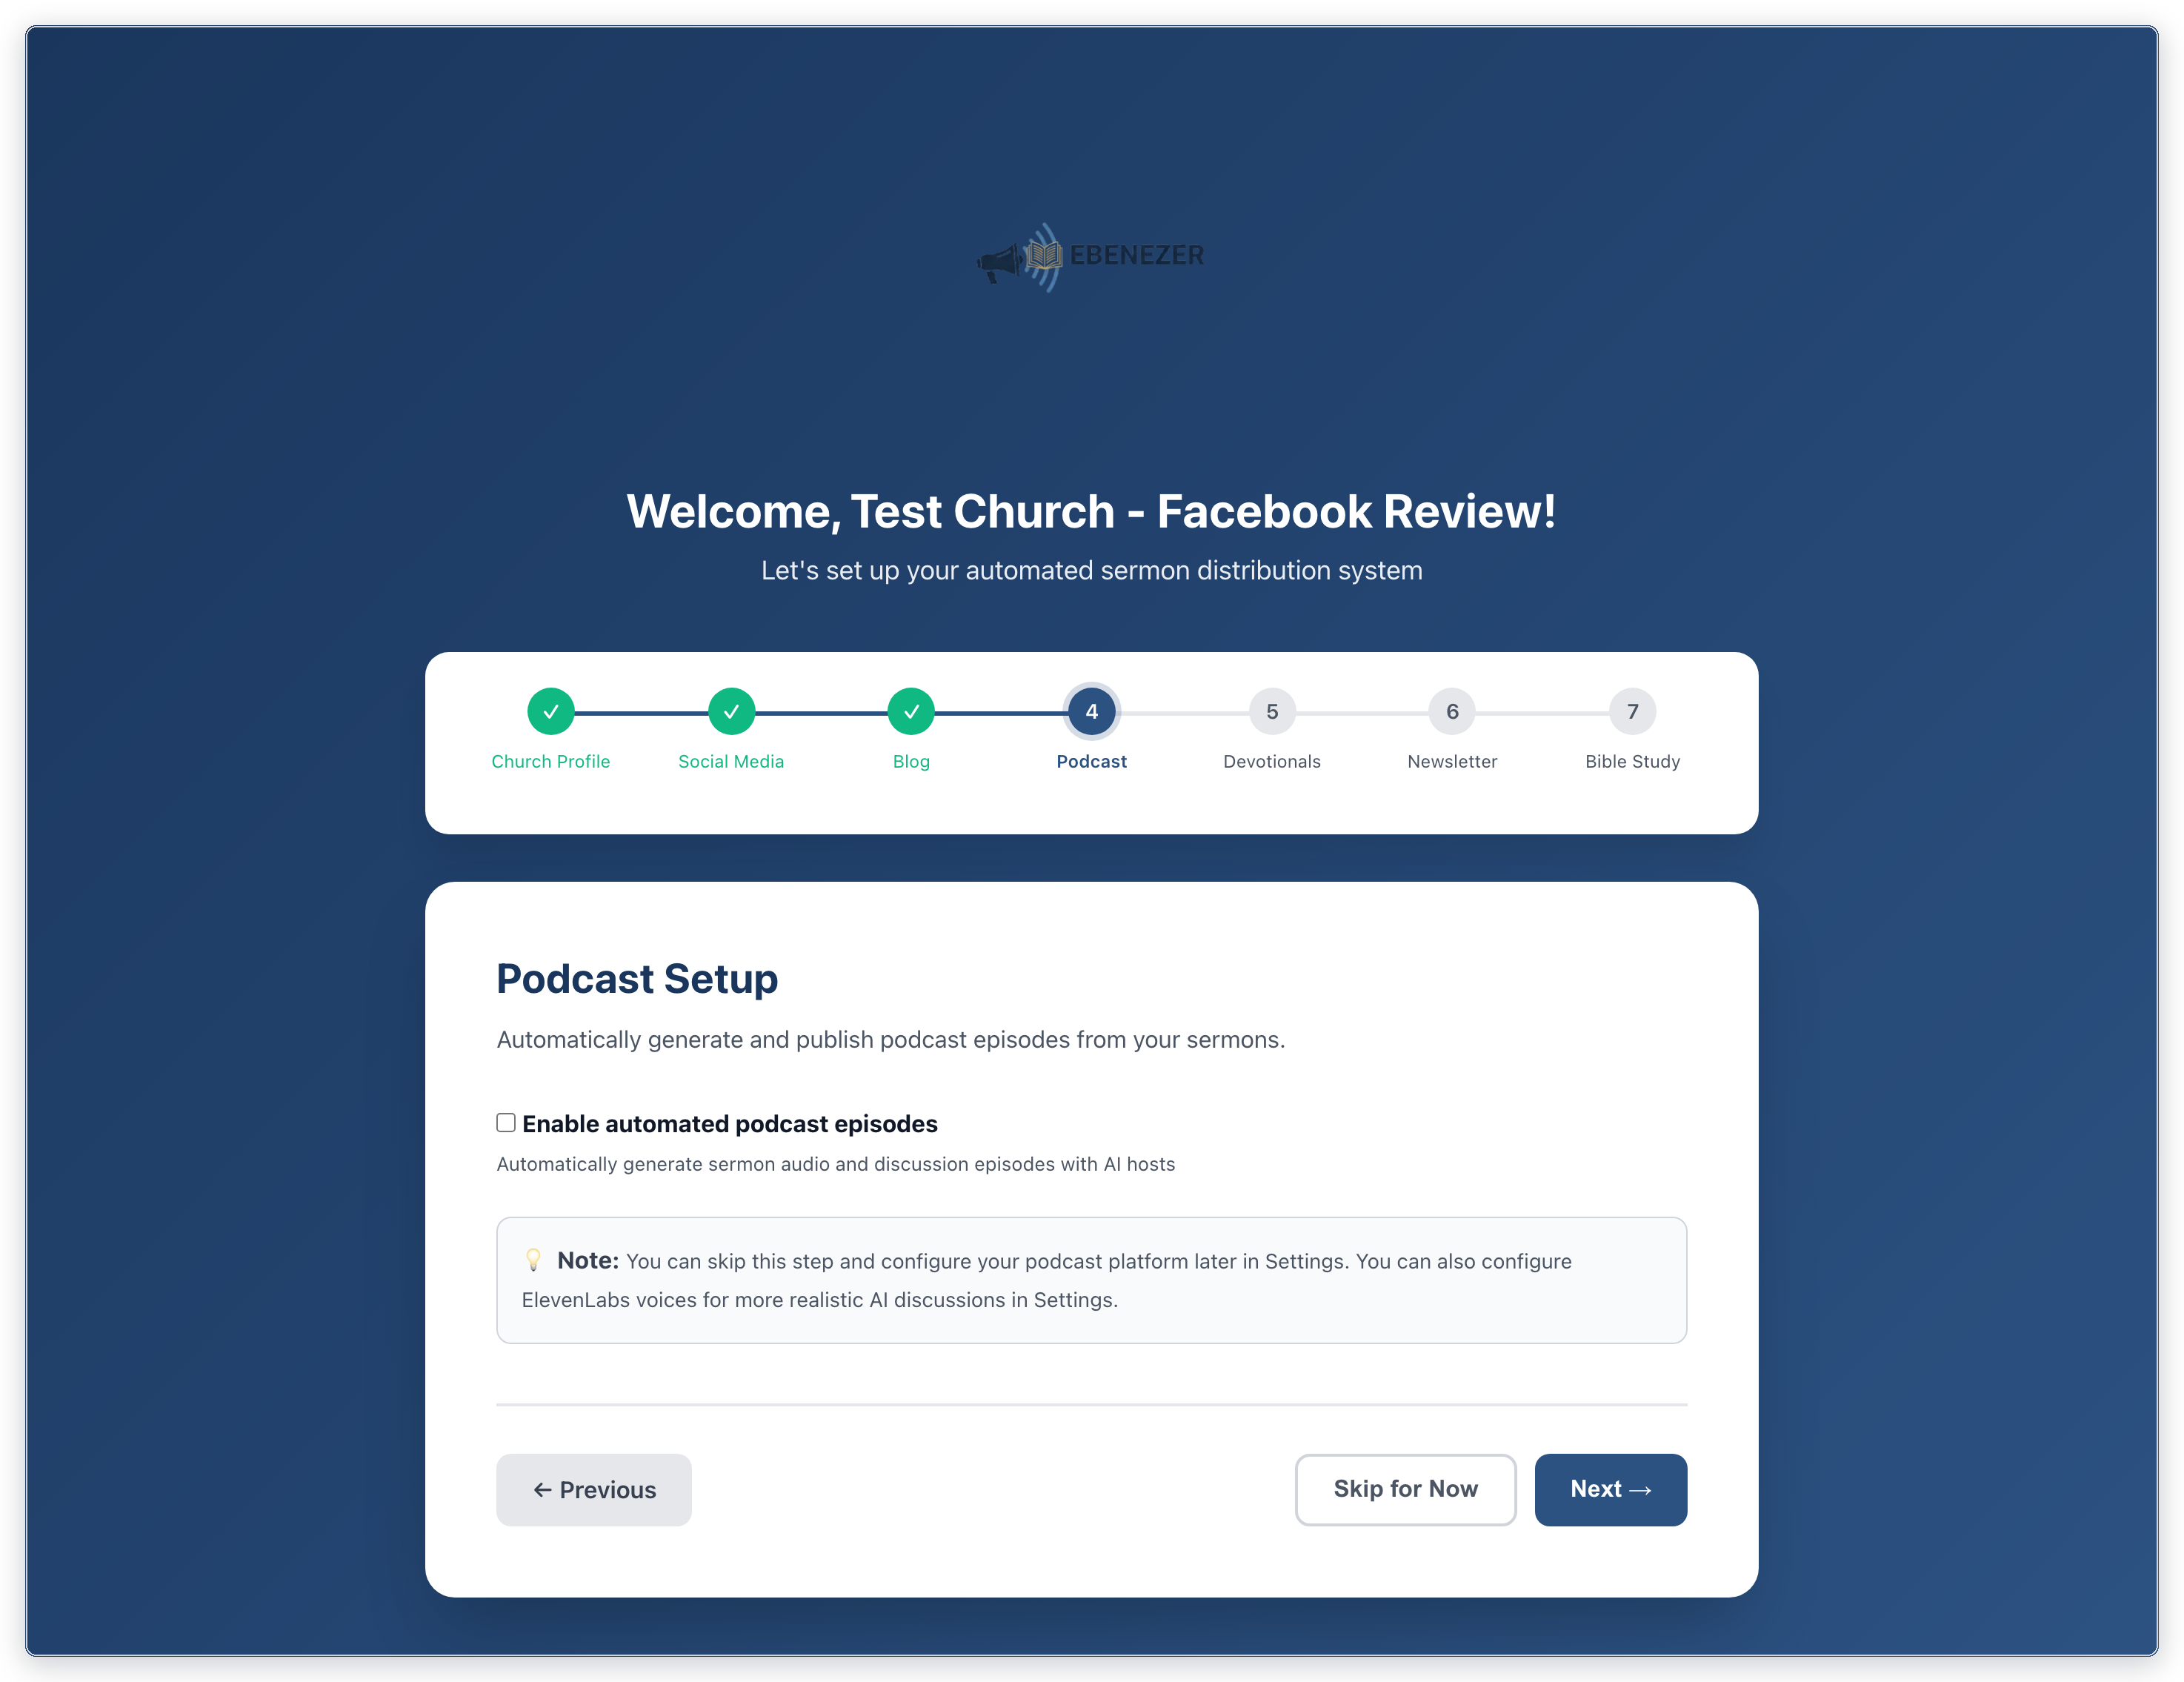
You can enter RedCircle details, but uploads to it aren’t working yet — the form says so too. Choose Podbean unless you’ve been told otherwise.
Step 5 — Devotional texts
Short encouragements sent to your congregation’s phones during the week, drawn from Sunday’s sermon.
- Tick Enable automated devotional texts.
- For Recipient Source, choose EBENEZER Database unless your church runs Planning Center. It’s the right answer for most churches and lets you add people by hand or from a spreadsheet.
- Optionally upload a CSV of phone numbers now. The file needs two columns, phone and name.
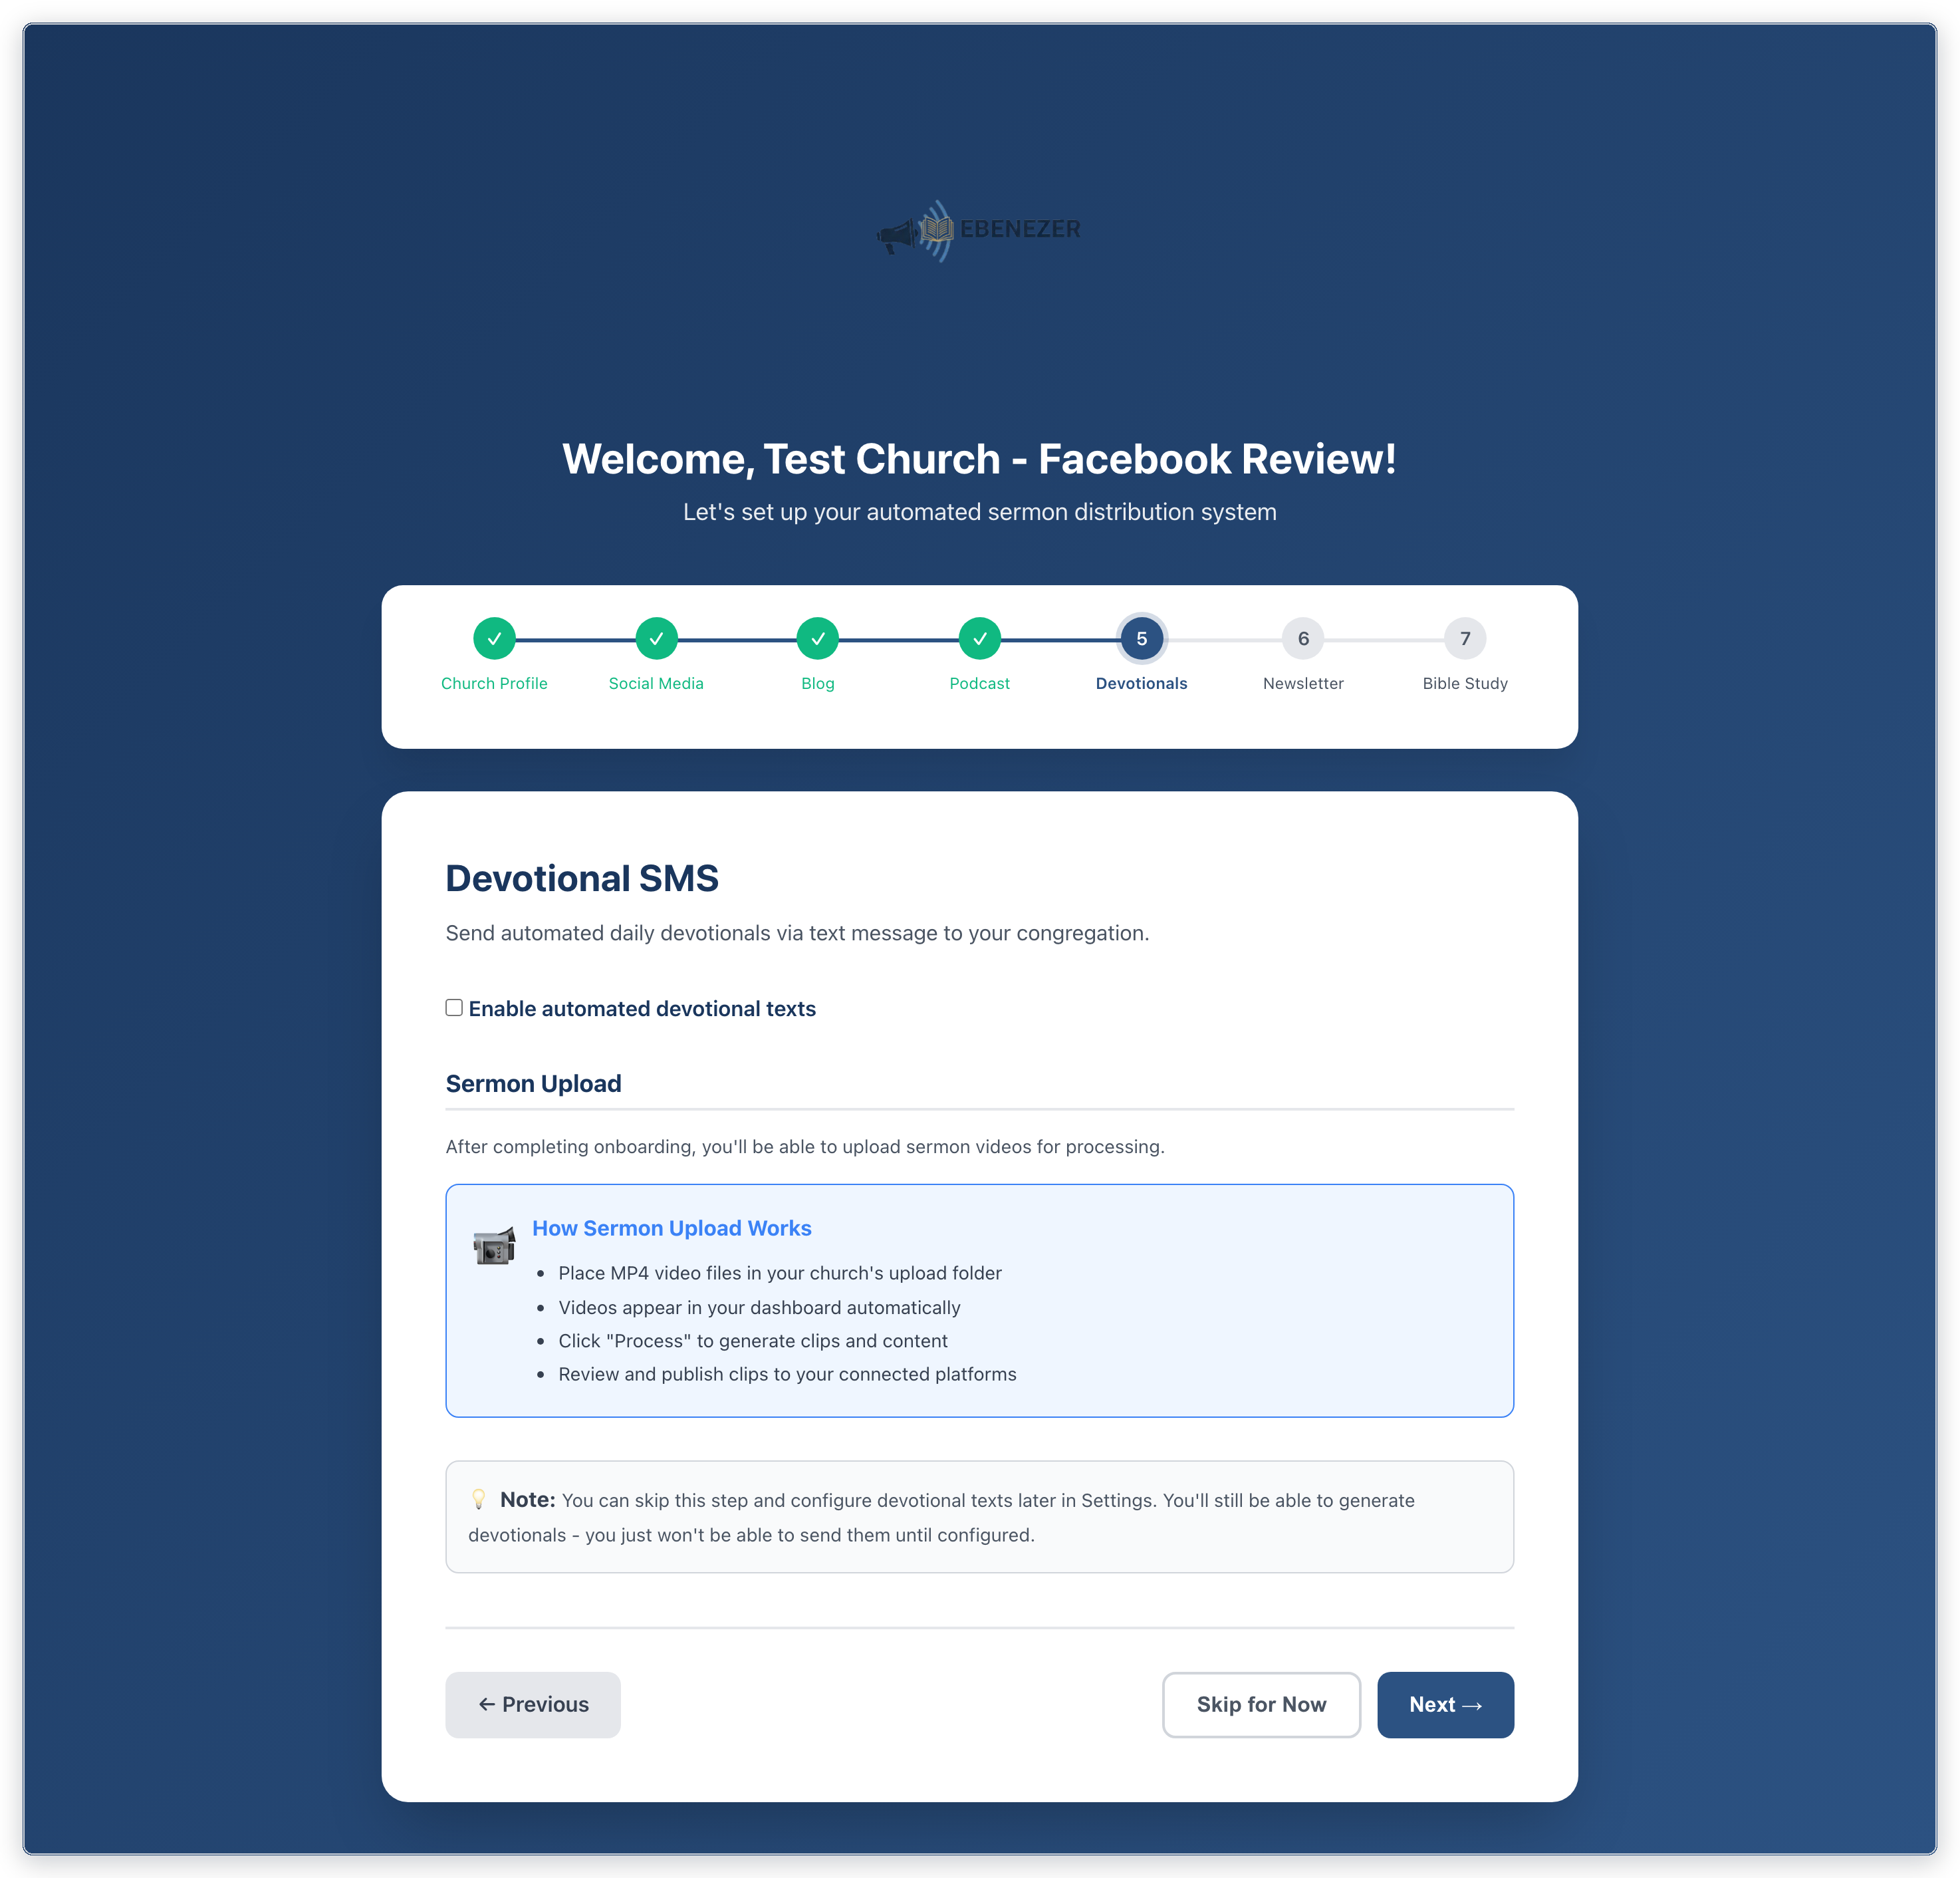
Text messaging is regulated. Only add numbers belonging to people who have agreed to receive messages from your church. Never buy a list. Every message EBENEZER sends includes instructions to reply STOP.
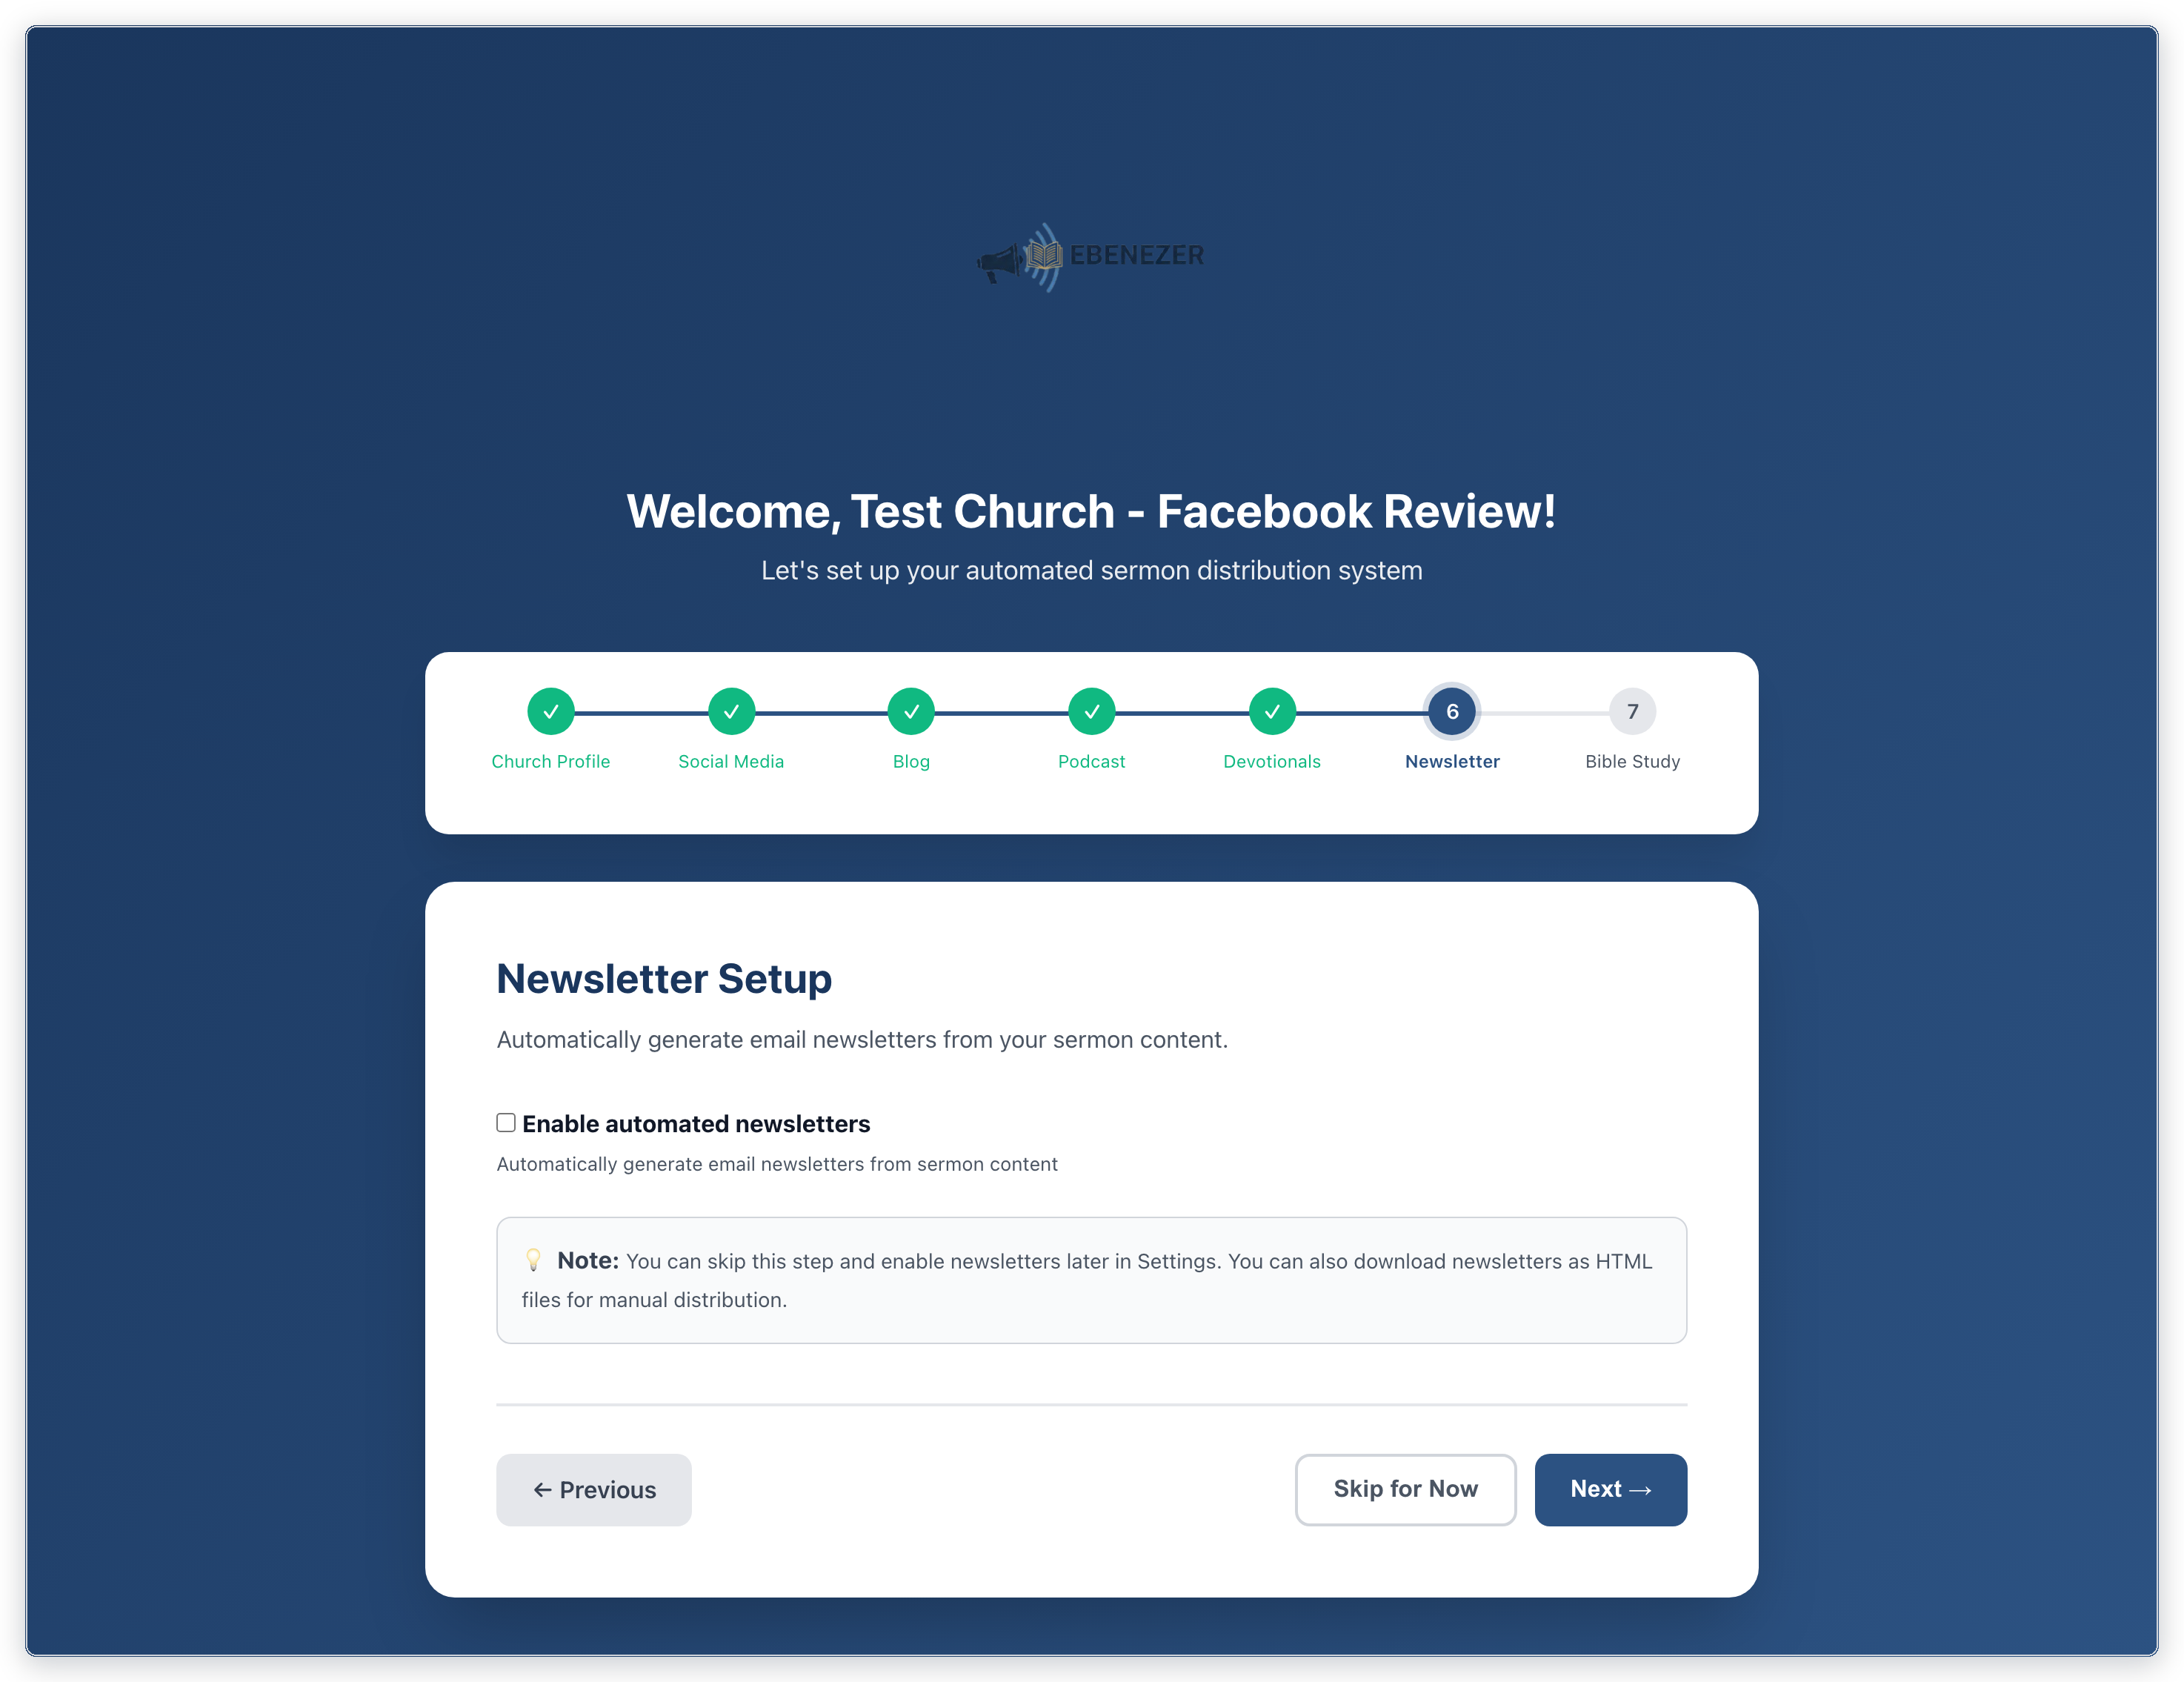
Step 6 — Newsletter
A weekly email recapping the sermon.
- Tick Enable automated newsletters.
- Optionally set a From Name. Leave it blank and your church name is used.
There’s nothing else to configure here. EBENEZER sends the emails for you, and you’ll add your subscriber list afterwards under Settings → Newsletter Email.
Step 7 — Bible study
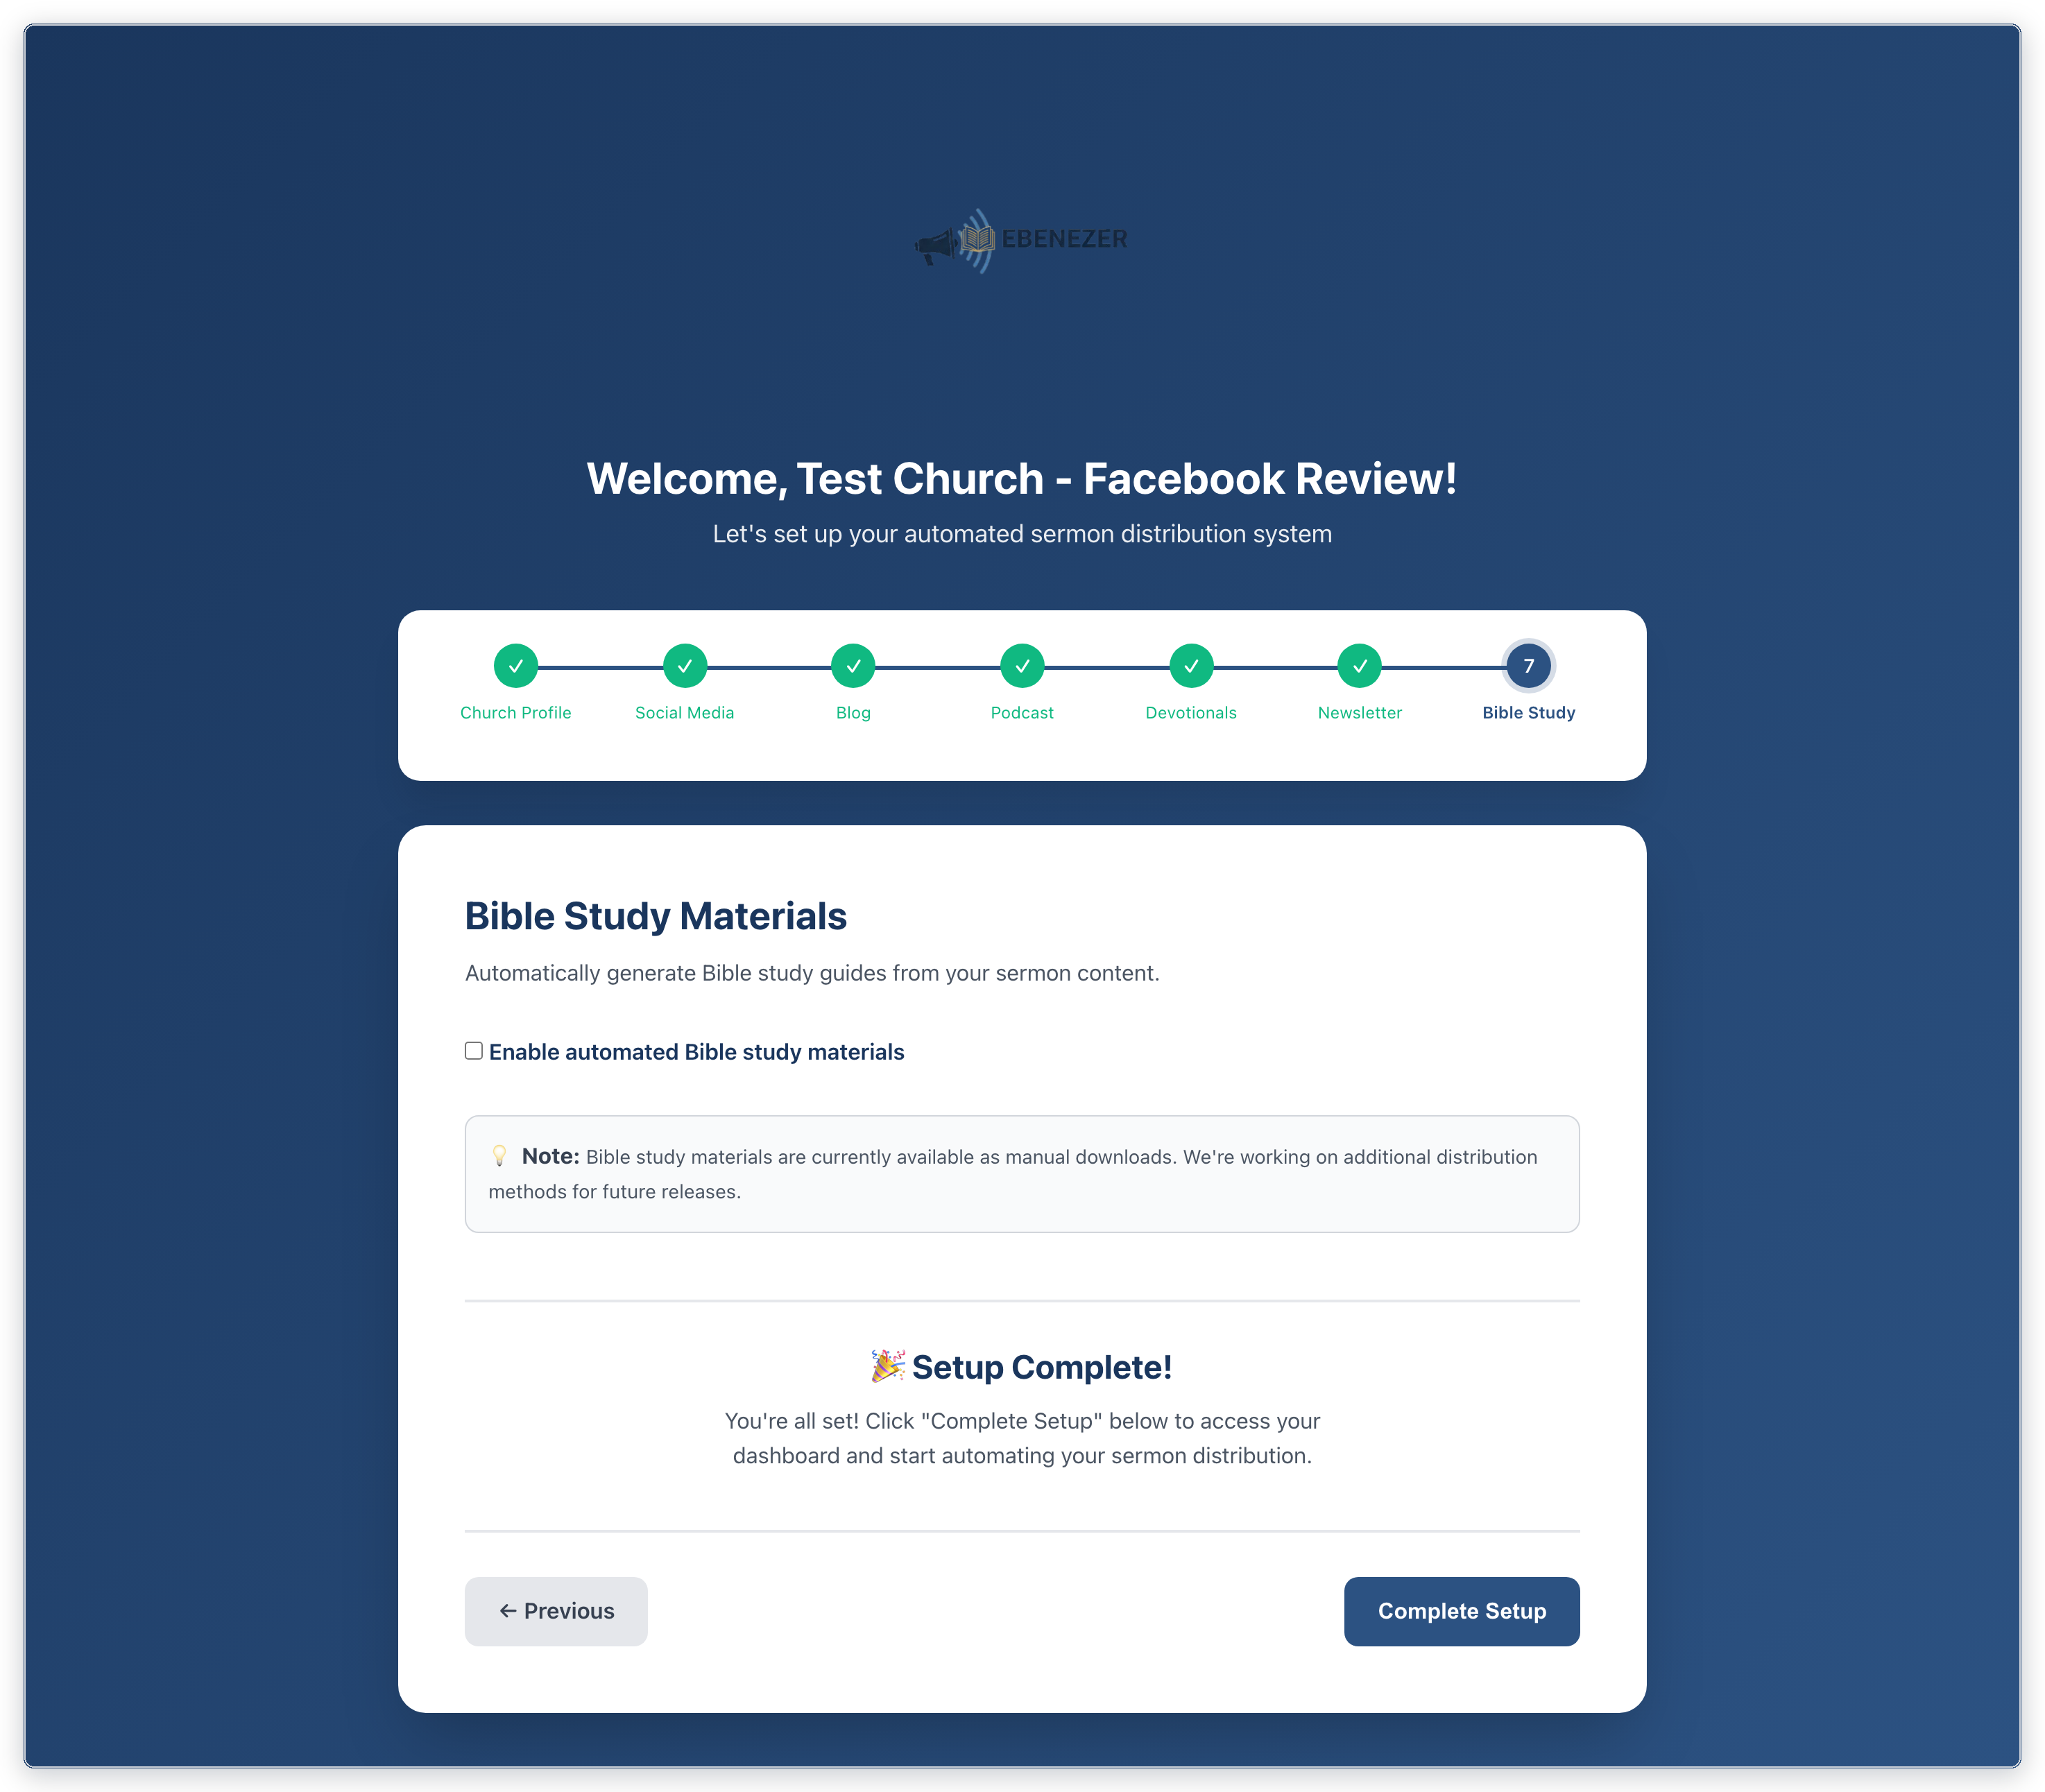
A small group study guide built from the sermon: discussion questions, scripture references, a memory verse and a weekly challenge, as an editable Word document and a print-ready PDF.
- Tick Enable automated Bible study materials if you want them.
- Press Complete Setup.
Changing any of this later
Everything you just set lives under Settings, and you can change it whenever you like. Your church profile, social connections, blog and podcast platforms, devotional and newsletter settings each have their own page there.
If a connection won’t save or a step won’t move on, the troubleshooting guide covers the common causes.